
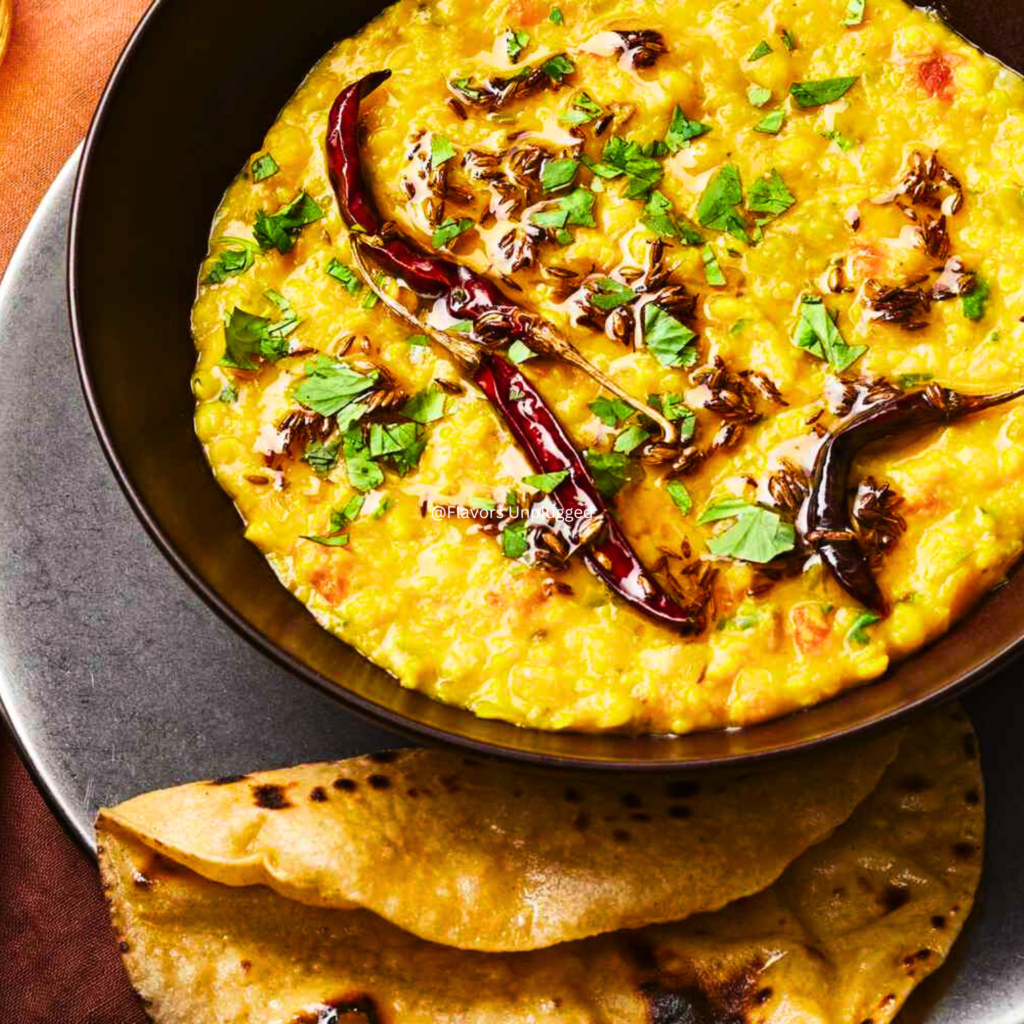
Dal Tadka, for me, is the ultimate comfort food. It’s the dish that feels like a warm hug on a cold day, and let’s be real—it’s something we can all enjoy at any time.
Whether you’re having it with rice, roti, or just by itself, Dal Tadka has a special place in everyone’s heart. The best part? You don’t have to head to your favorite dhaba to enjoy this smoky, flavorful delight. In fact,
with this easy Dal Tadka recipe, you’ll be whipping up a restaurant-style dish right at home!
What You’ll Need for a Perfect Dal Tadka Recipe dhaba style
Before we jump into the recipe, let’s talk about what you’ll need. Don’t worry; the ingredients are simple, and you might even have most of them in your pantry already. Here’s a quick rundown:
For the Dal Tadka Recipe (Dal):
- 1/2 cup tur dal (also known as arhar dal – this is the main star!)
- 2 tbsp chana dal
- 2 tbsp masoor dal
- Water – the magic ingredient to cook everything down to perfection!
For the Dal Tadka Recipe (Tadka):
- 2 tbsp ghee – trust me, you want to use ghee for that authentic, rich flavor.
- 1 tsp cumin seeds
- 1 dried red chili (for that perfect spice kick)
- 1 tbsp ginger – finely chopped
- 1 tbsp garlic – finely chopped
- 2-3 green chilies – chop them up for that spicy zing!
- 1 onion – finely chopped
- 1 tomato – chopped to blend into the masala
- ¼ tsp turmeric powder – to give that beautiful yellow color
- ½ tsp Kashmiri red chili powder – this will give it a gorgeous, vibrant red
- ½ tsp coriander powder
- A pinch of garam masala – for the final warm, fragrant touch
- 1 tbsp butter – because, honestly, butter makes everything better!
- Fresh coriander leaves – for that fresh garnish.
- A pinch of kasuri methi (roasted) – adds that amazing herby flavor.
- ½ tsp dried mango powder (amchur) – for a tangy kick.

Cooking the Dal: Let’s Get Started!
Alright, now that you have everything ready, let’s begin with cooking the daal. You can prepare this in a pressure cooker, which is very quick, or on the stovetop if you’ve got a little more time to spare.
- Rinse and Soak the Lentils: First, give your lentils a good rinse. No one likes extra dust, right? Once rinsed, soak them for about 30 minutes. This helps the lentils cook evenly and faster.
- Pressure Cook the Lentils: If you’re using a pressure cooker, pop the soaked lentils in along with:
- A slit green chili (this adds a gentle heat)
- Salt (to taste)
- A pinch of turmeric powder
- A small piece of ginger (adds that fresh zing)
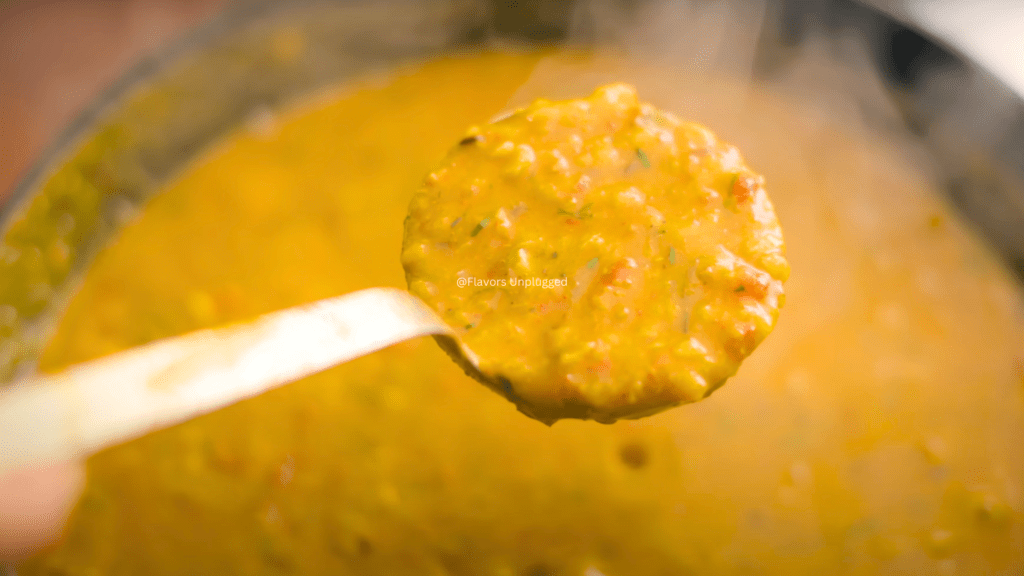
- Add about 2 ½ cups of water and pressure cook for 3-4 whistles. Once done, let the pressure release naturally, and you’ll have perfectly cooked lentils. Stir it all up! The dal should be smooth, a little chunky, and not too runny.

The Tempting Tadka – The Secret Sauce to the Perfect Dal Tadka Recipe!
Now, we’re about to make the most essential part of this Dal Tadka recipe—the tadka. The tempering brings the dal to life with its smoky, spicy flavors.
- Heat Ghee: In a pan, heat about 2 tbsp of ghee (because ghee makes everything taste better). Once it’s hot, add:
- 1 tsp cumin seeds
- 1 dried red chili (for some extra heat)
- 1 tbsp chopped ginger
- 1 tbsp chopped garlic
- 2-3 chopped green chilies (if you like your dal spicy, add more!)
- Sauté the Aromatics: Let these ingredients cook for a minute or two until the house smells absolutely amazing. Once the ginger, garlic, and chilies are all fragrant, add:
- 1 chopped onion – let it cook until it turns soft and golden brown.
- 1 chopped tomato – cook this until it turns mushy and blends with the spices. This will create a flavorful, rich base.
- Spices, Spices, Spices: Now, we’re going to bring in those spices that make Dal Tadka so unique:
- ¼ tsp turmeric powder
- ½ tsp Kashmiri red chili powder (this gives it a beautiful color and mild spice)
- ½ tsp coriander powder
- A pinch of garam masala (this is where the magic happens!)
- Stir everything together and let it cook for a couple of minutes. Don’t rush through this—this is where the flavors develop. If you need a little help, add a splash of water to keep everything from sticking to the pan.
- The Smoky Touch: Now comes the trick! Tilt the pan slightly, so the heat hits the edges of the pan, giving the tadka a nice smoky flavor. This is the dhaba-style secret! Trust me; this step makes a huge difference.
- Add the Tadka to the Dal: Once your tadka is ready, pour it over the cooked dal. Stir it all up, and let it simmer for 2-3 minutes. The flavors will come together beautifully. At this stage, add a pinch of roasted kasuri methi and a squeeze of dried mango powder (amchur) for a tangy kick.
- Final Touches: To really elevate the flavor, add 1 tbsp of butter. Stir it in, and it’ll melt into the dal, making it creamy and rich. Garnish with fresh coriander leaves for that pop of color and freshness.
Your Dal Tadka is now ready to serve!

Serving the Dal Tadka – What to Pair It With?
Dal Tadka is best served with something simple but satisfying. I love pairing it with jeera rice, which is fragrant and light, and a side of crispy roti or naan.
The rice soaks up all that tasty dal, and the warm, pillowy bread complements the dish perfectly.
Here’s how to make Jeera Rice to go with your Dal Tadka:
- Rinse the Rice: Wash 1 cup of Basmati rice under cold water until the water runs clear. This removes the starch and helps the rice stay fluffy.
- Cook the Rice: In a pot, bring water to a boil and add the soaked rice, along with a bit of salt. You can add a piece of lemon peel to make the rice extra fragrant. Cook the rice until it’s tender but not mushy. Drain and fluff it up with a fork.
- Toss in Ghee and Cumin Seeds: Heat a little ghee in a separate pan, add 1 tsp cumin seeds, and let them sizzle. Once they start crackling, toss in the cooked rice. Add some fresh coriander.
Conclusion – Your Dal Tadka Masterpiece!
There you have it—the ultimate Dal Tadka recipe! This smoky, spiced lentil dish is comfort food at its finest, and with this easy-to-follow recipe, you’ll never need to step out for a dhaba meal again.
Serve it with Jeera Rice and enjoy a meal that’s hearty, satisfying, and full of flavor.
So, Why are you waiting for? Go ahead and try this recipe, and let me know how it turns out! Don’t forget to try with your favorite side dishes and maybe even a crispy papad to really complete the experience.
Video Credit: A big shout-out to Your Food Lab for video and images that helped bring this recipe to life. Make sure to check them out for more mouthwatering recipes!


